Printer mods

It’s been a while since the last 3D printer update. You might remember previously, I was able to get it hooked up to a raspberry pi and set up Octoprint just fine. Since then, I’ve been down a bit of a rabbit hole in terms of learning more about 3D printing in general. Not all will be covered here; instead I’ll talk about some of the easier mods/improvements that can be done with this printer.
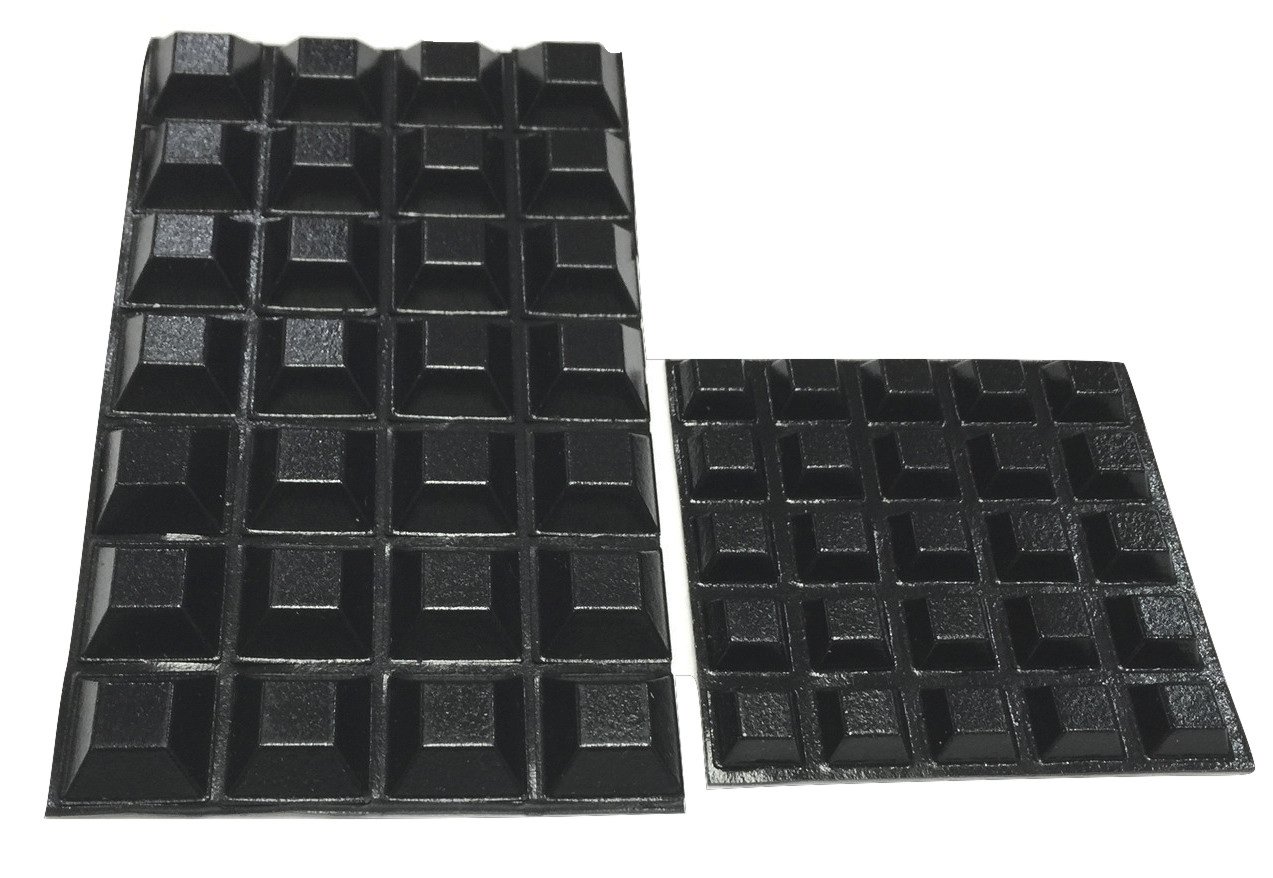
Probably the first thing you want to do is get a good set of feet to ensure proper airflow from under the printer. I got these rubber ones and installed 6 for stability.
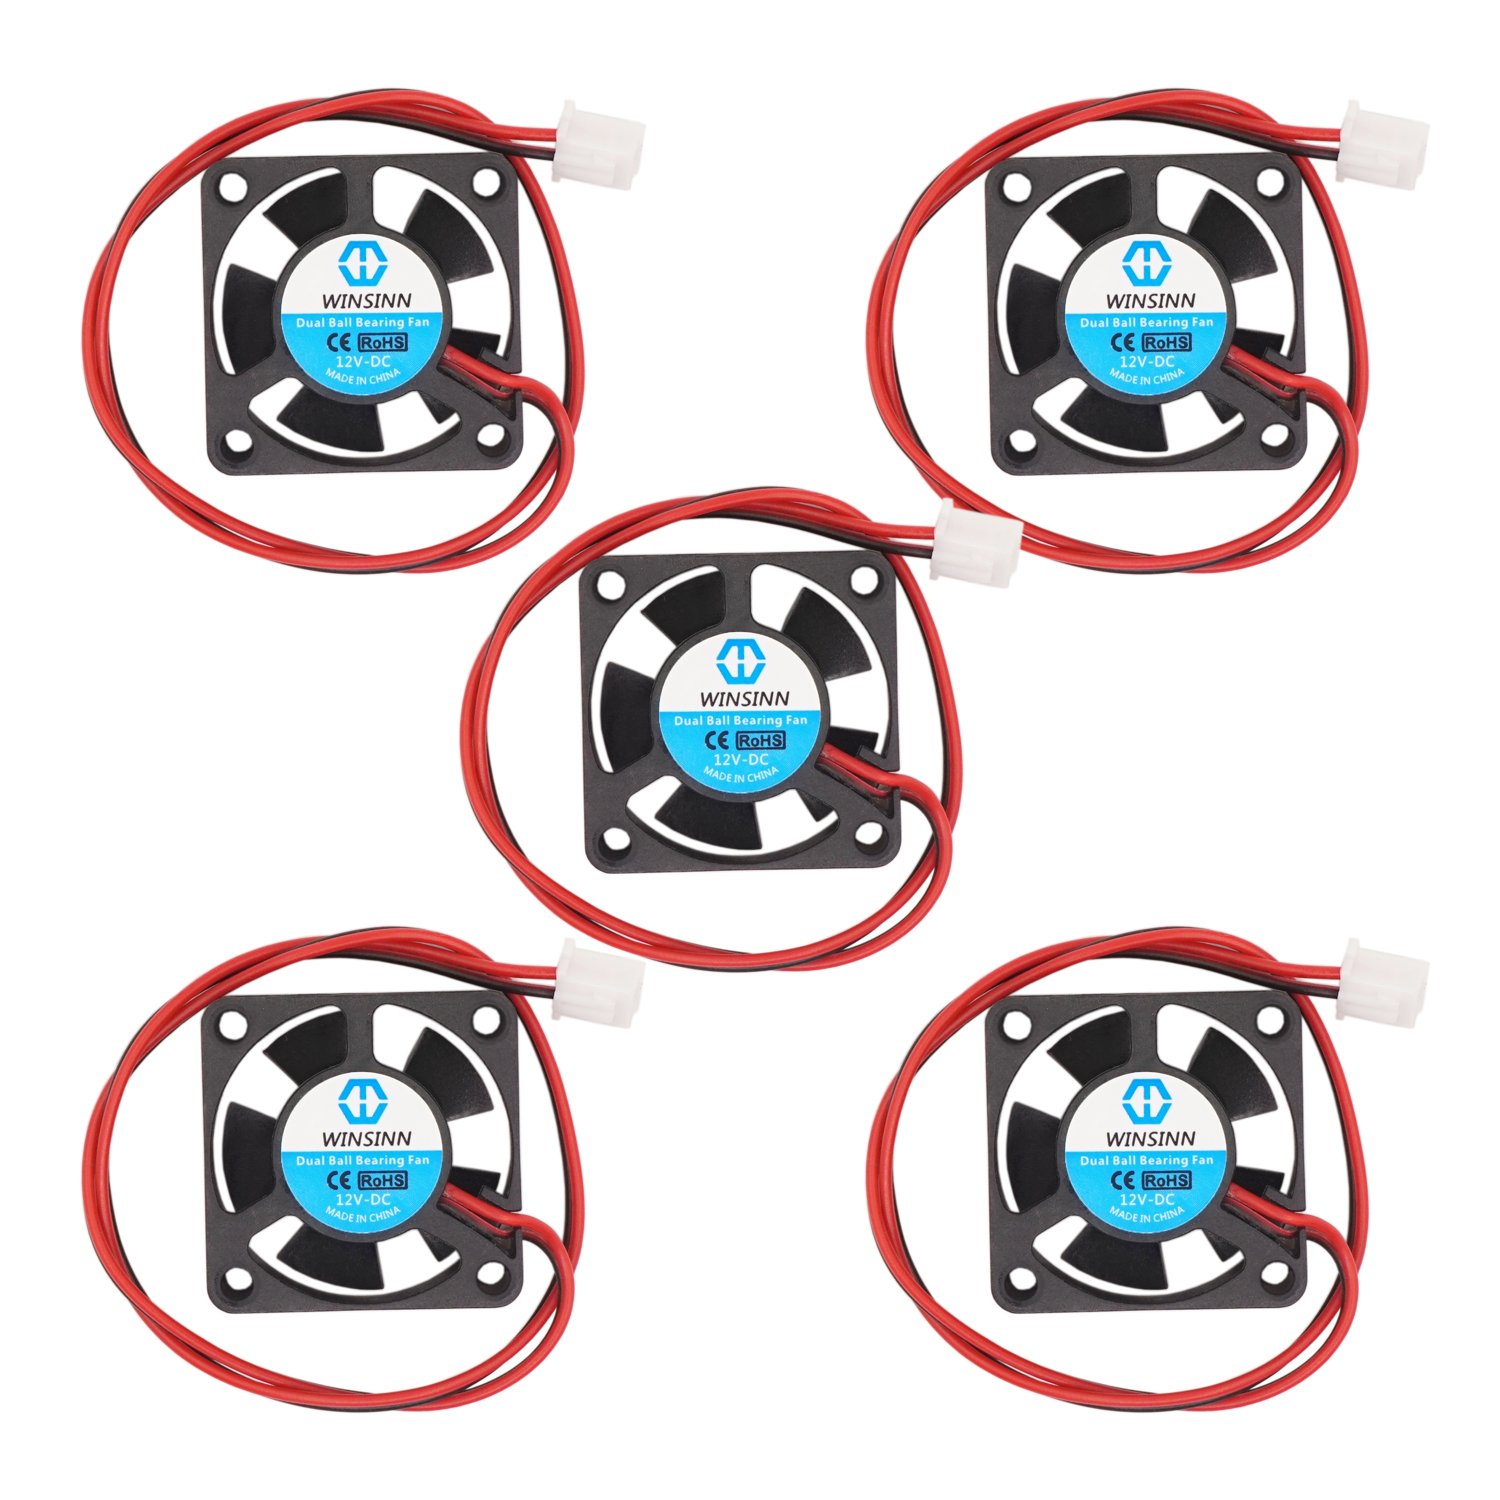
If you find the stock fans noisy, or, you intend to use your printer fairly regularly, it makes sense to also replace them. The bottom 60mm fan is originally 10mm wide, but if you use a 25mm fan instead (like this one from Noctua) with some careful cable positioning, it should fit fine.
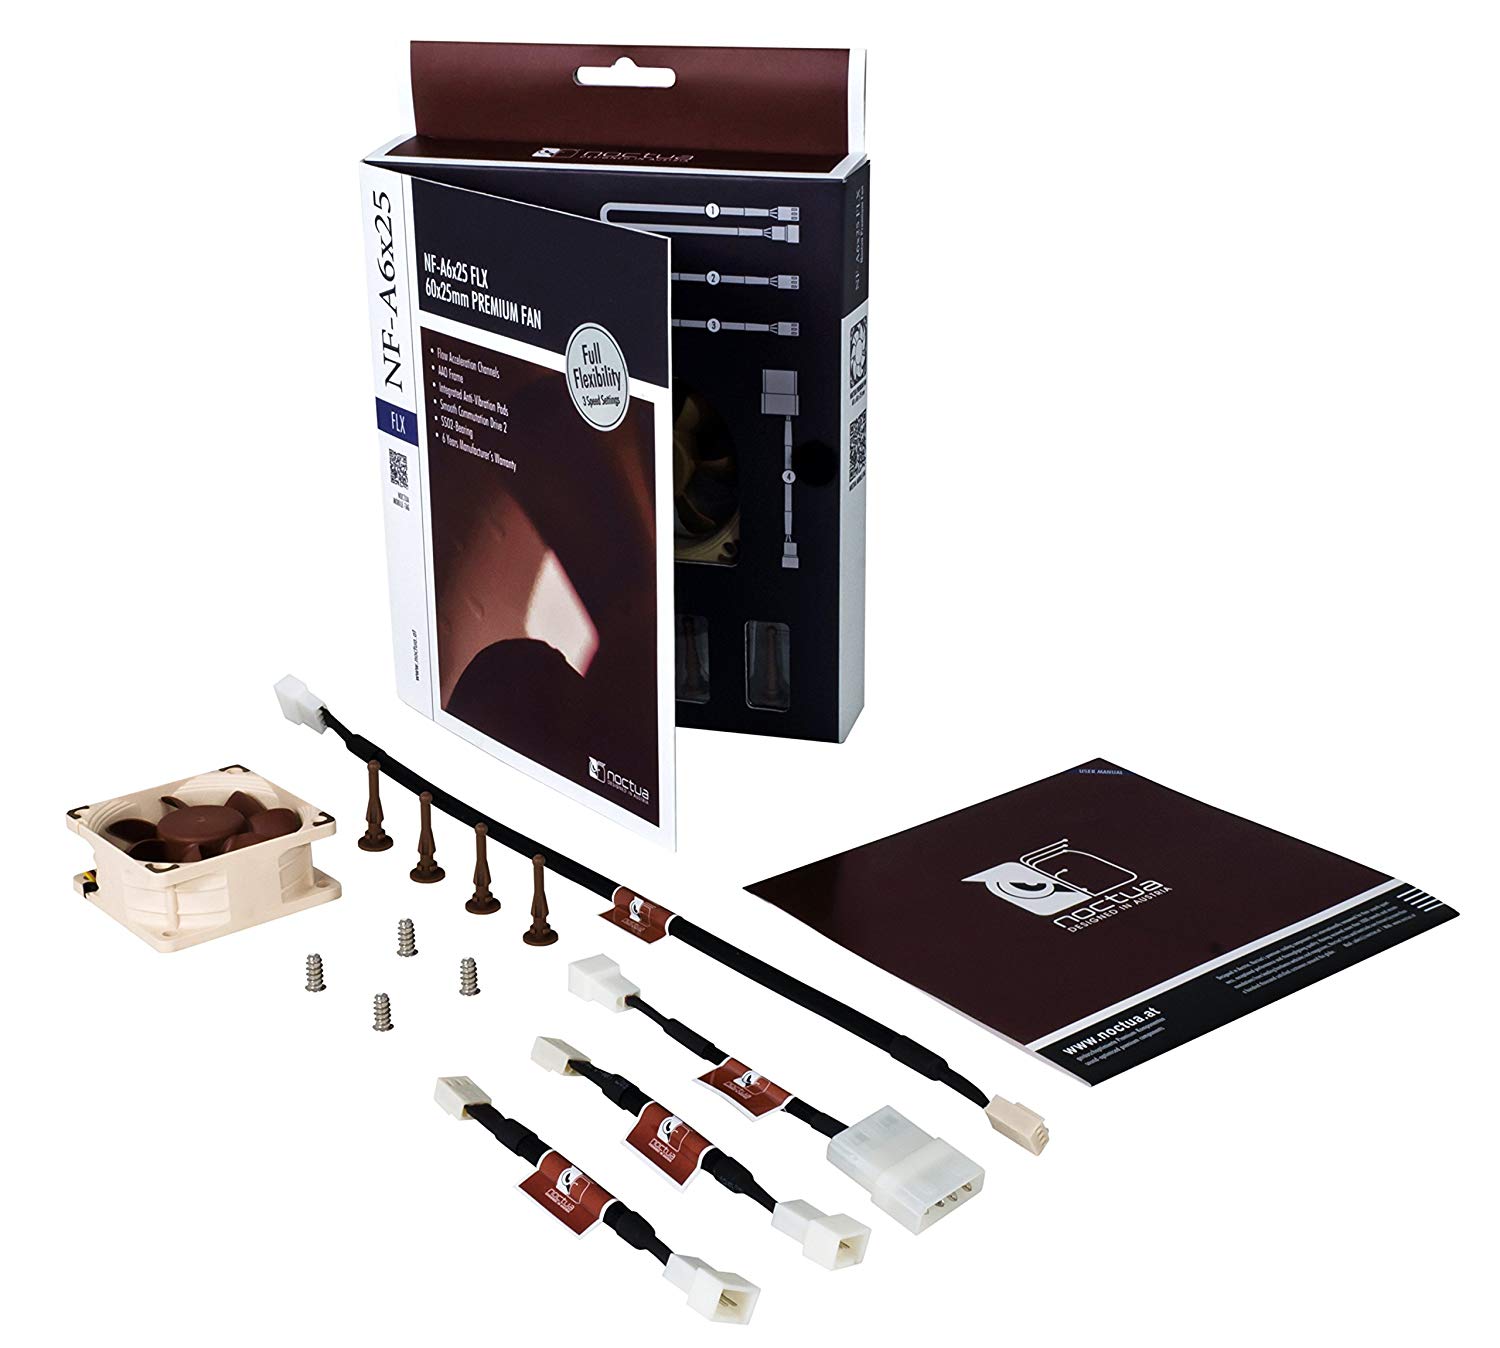
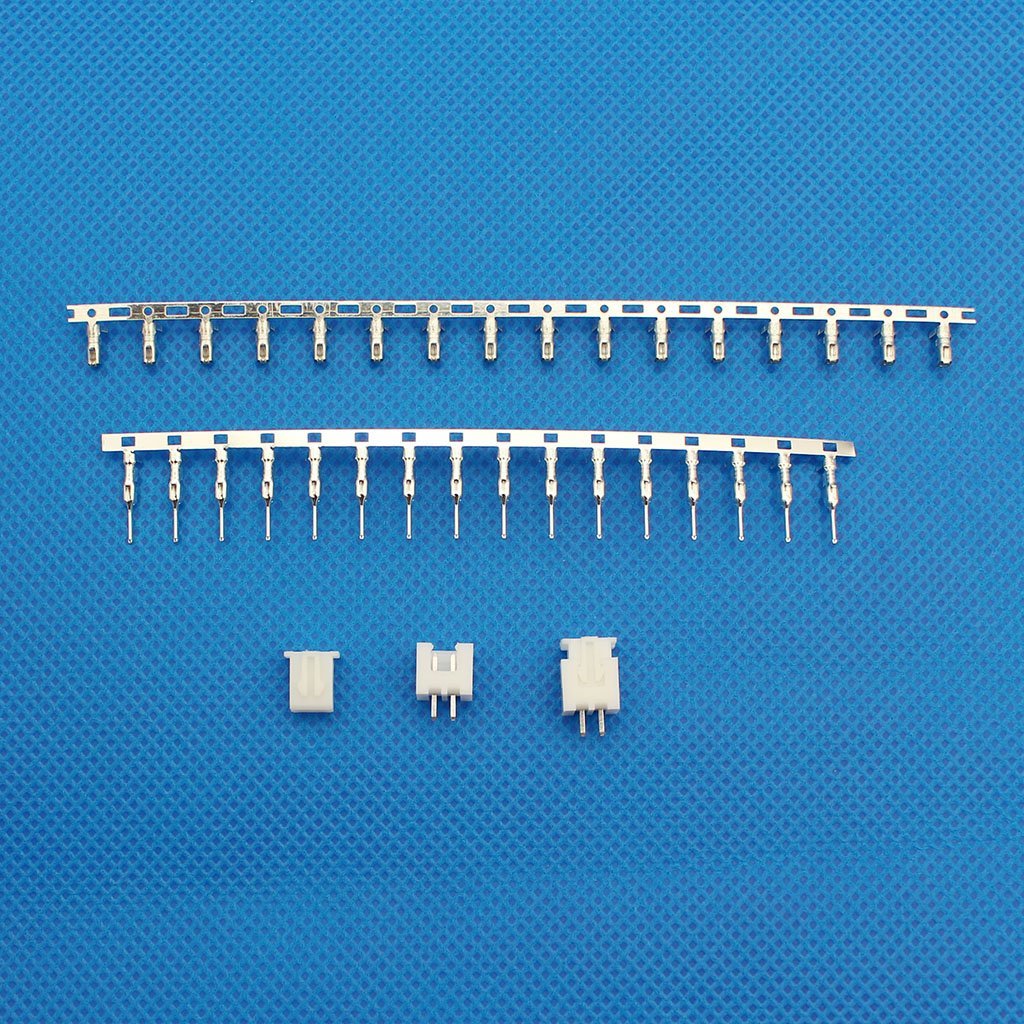
The connector is a stock 2-pin small JST-XHP connector; I chopped off the molex adapter that came with the Noctua and put on the JST.
The extruder fan is 30mm fan that is 10mm wide. I used the recommended one from the wiki. I’m not sure what this connector is, so I soldered the fan cable onto the existing cable and finished with heatshrink tubing.
The stock build plate is not ideal, many have commented having better luck with a borosilicate glass build surface. I have found that it’s much easier to remove prints than before, and you get the nice side effect of a smooth bottom. The tricky bit however is the initial and continue adhesion during the printing process. As the internet has advised, providing something initially tacky and unsunny the build plate has heated up sufficiently is key to having successful adhesion. Some use glue sticks; I have opted for “hold” hairspray. You can find the plate here.
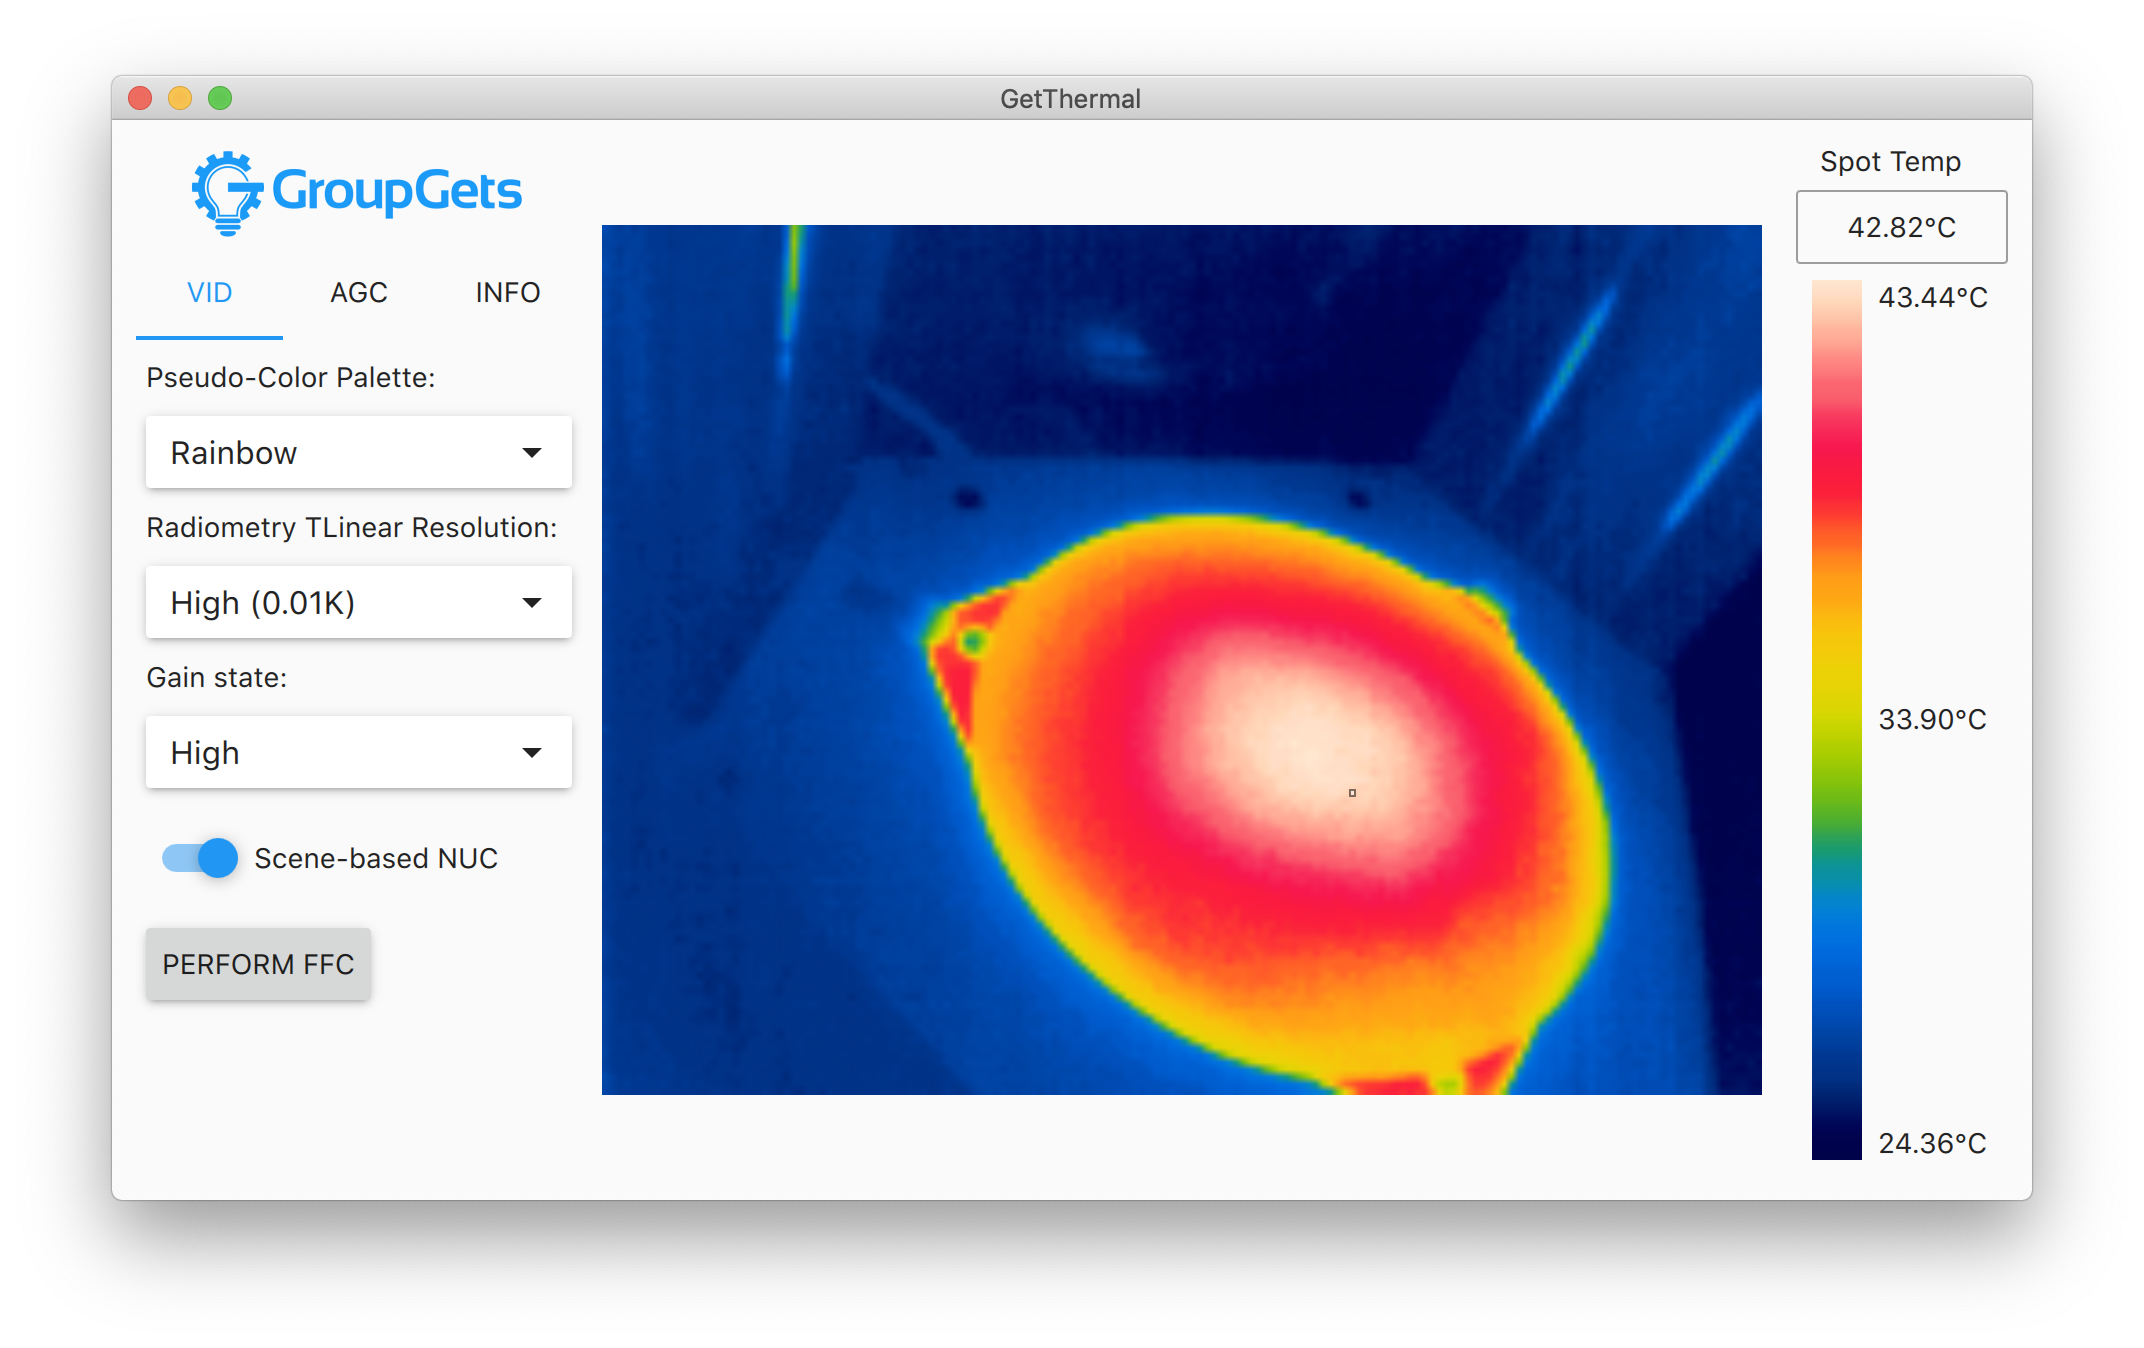
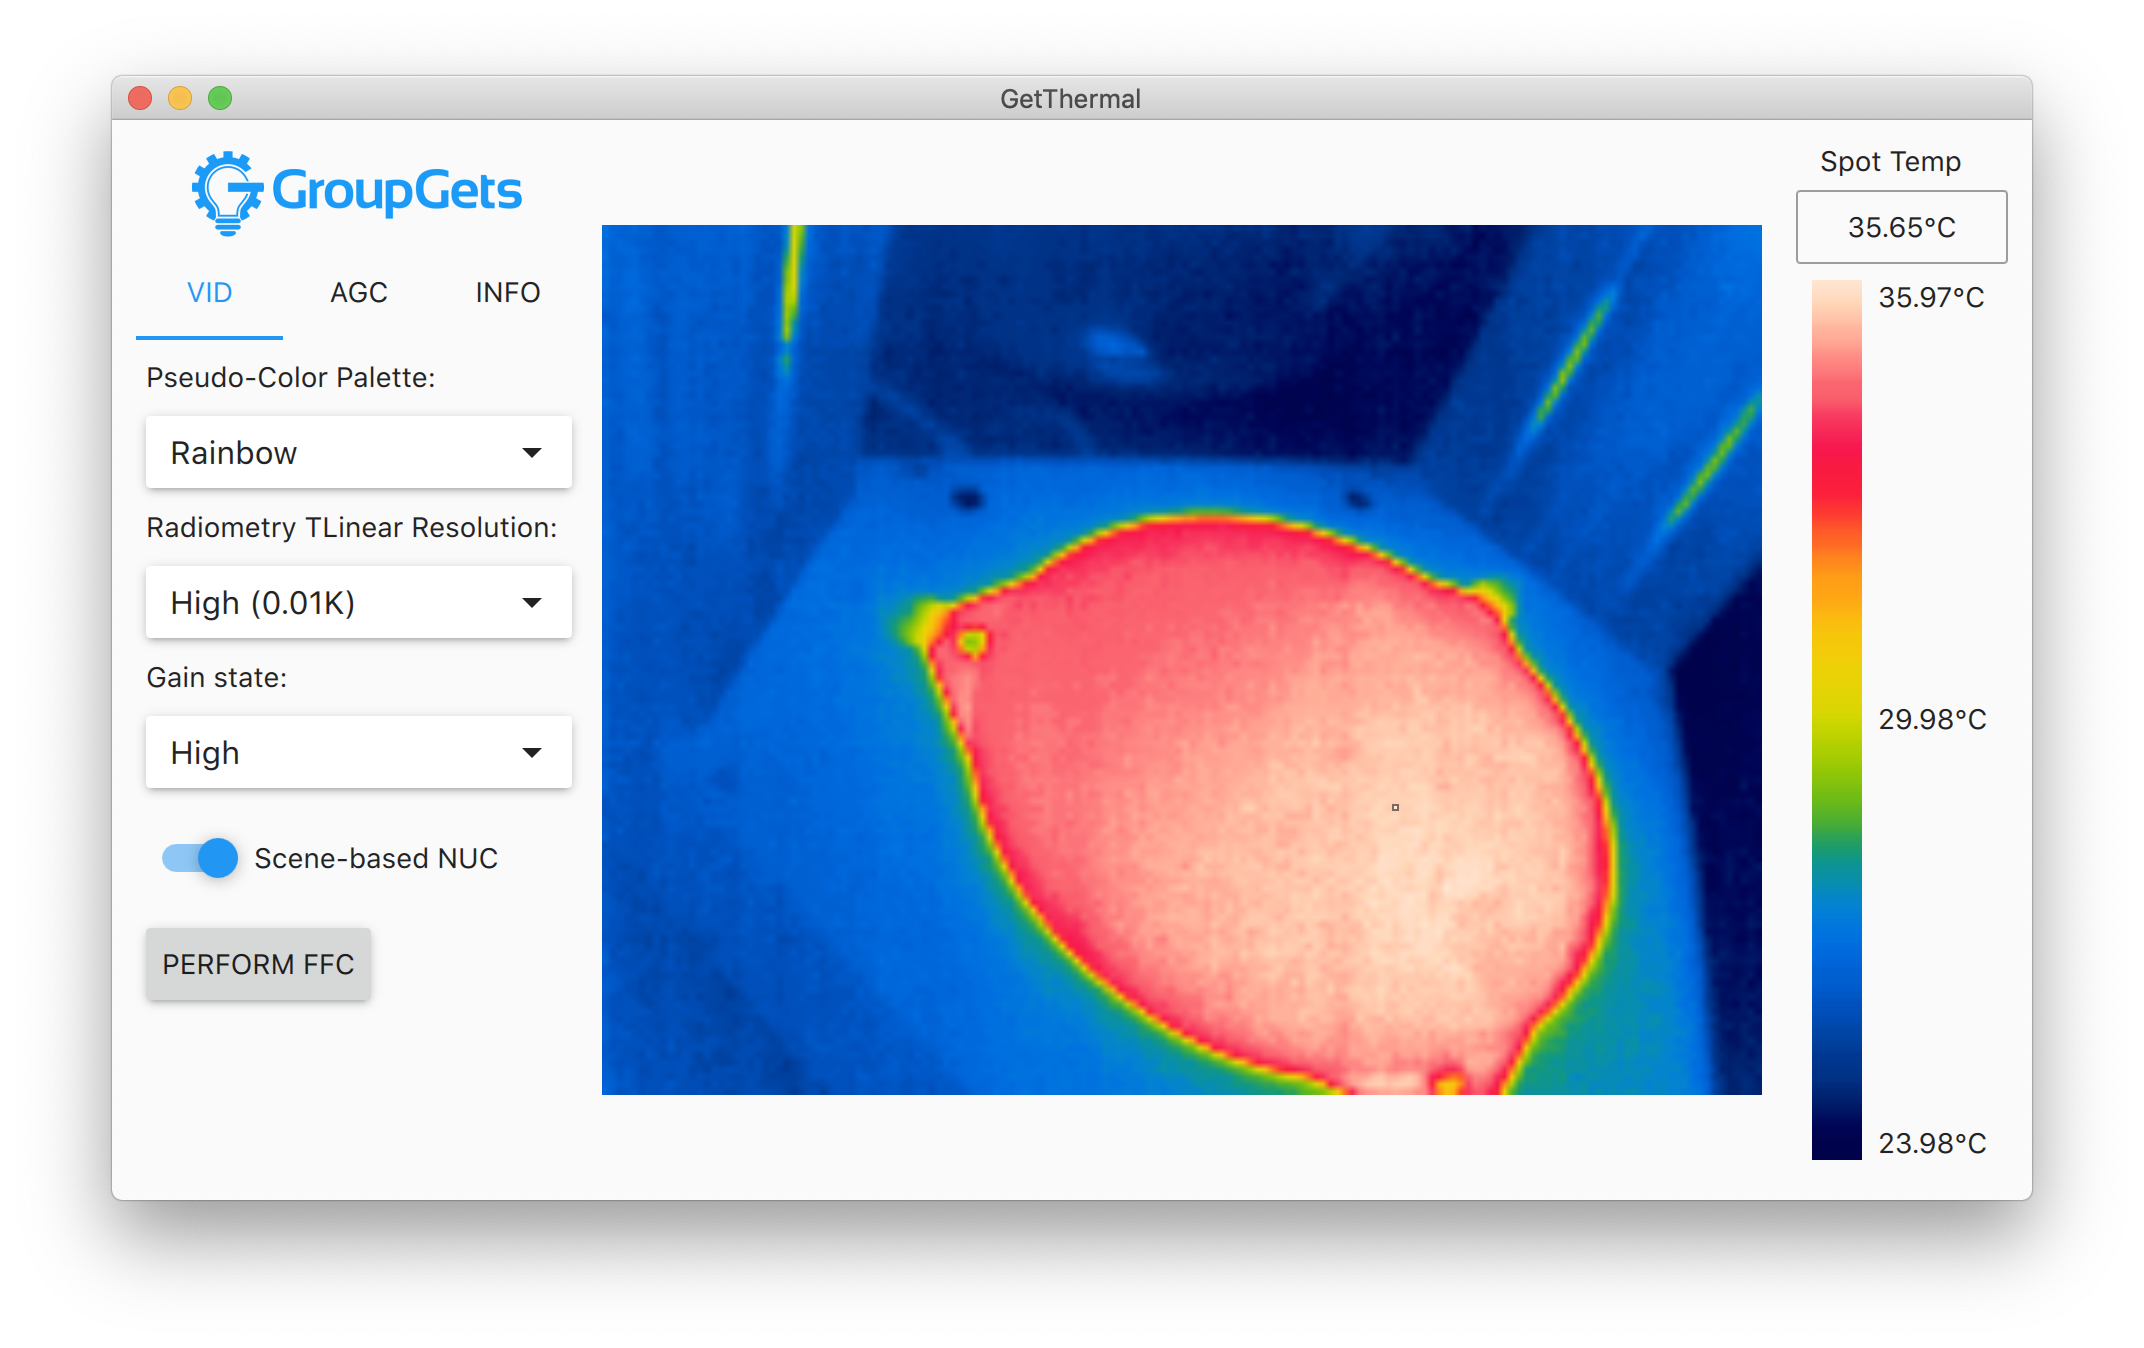
I also got a thermal mat and carefully adhered the mat to the metal plate, and then the glass plate to the mat, removing as many bubbles as possible (similar to a CPU heatsink compound application process). To ensure even heating, I used my thermal camera to monitor the plate warmup process.
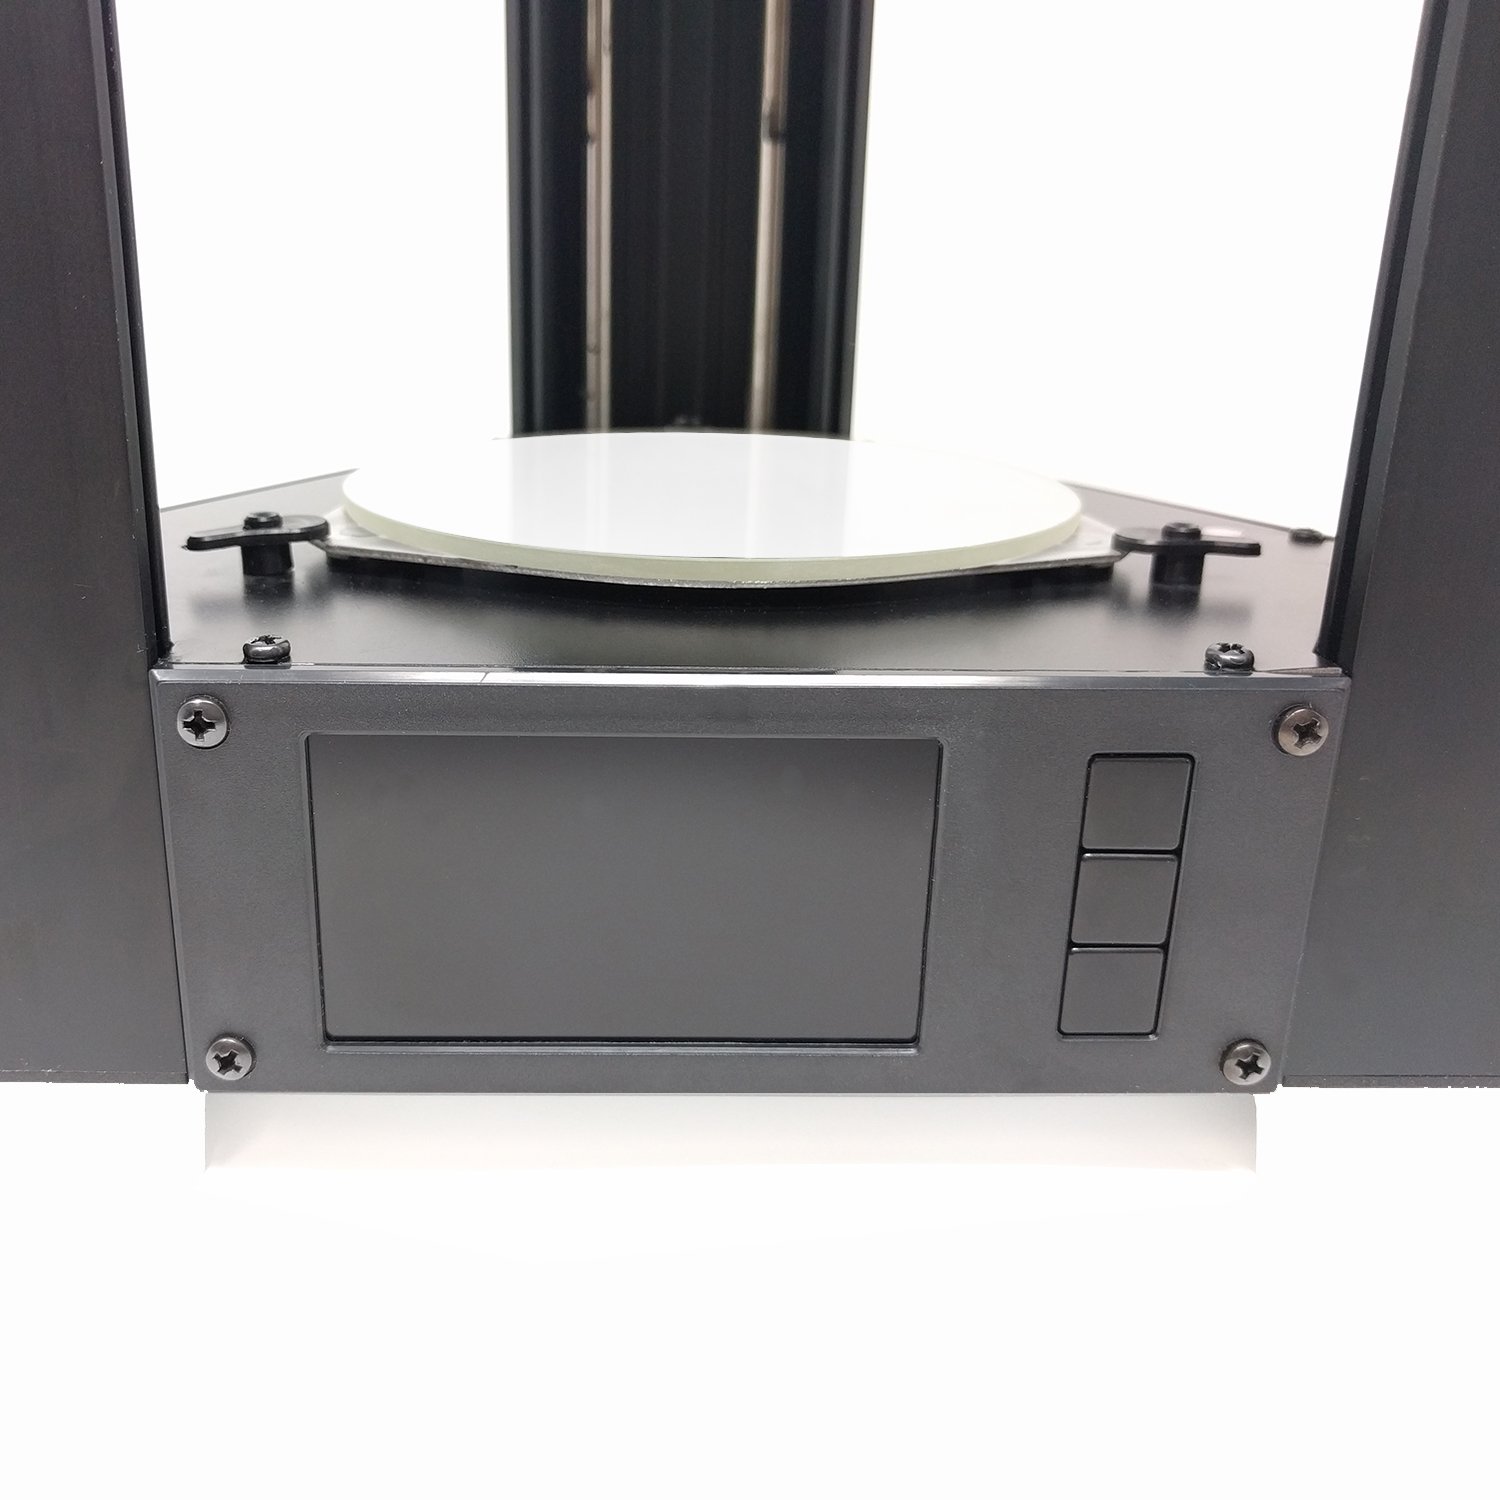
If you’re more ambitious, you can perform a faceplate swap on the printer + accompanying PCB, moving the screen to the top of the printer. I didn’t quite do that, instead opting to remove the screen entirely, since it appears to operate over USB fine without it (and moving the top metal plate to the bottom). I suspect that the PCB controls wifi along with the basic web interface that it advertises, since others report that the data going over its connecting cable may just be half-speed serial.
Finally, various sources recommend ensuring that the printer is properly calibrated. It turns out that all prints by default come out about 2-3% smaller than expected, and the firmware configuration must be updated as such.
Unfortunately not too many pictures/videos of these mods I’ve performed yet, but they will come soon. I am eventually hoping to make a 3D printer “hat” where the raspberry pi and other peripherals may live. Here’s a sneak peak!