Installing OctoPrint on a Raspberry Pi 3
I’m back in town so this weekend after clearing up/setting up my new desk, I’ve been really trying to sort out all the junk and electronics and half-finished projects I have. If you remember previously, I bought a 3D printer to play with. I had a bit of success with some prints, but didn’t get very far before work and life interfered. I was able to get SD card prints to work, but after reading a lot about the printer, I decided I wanted a better control and job submission system.
Enter Octoprint! This is an open-source piece of software written in Python (using Flask) that purportedly makes it much easier to handle 3D printing. It includes features such as slicing, monitoring, generating timelapses of prints, statistics of prints, custom plugins, and more, all with a very pretty and attractive web interface.
There are several ways to set this up. One is to download a SD card image with Raspbian+Octoprint all set up called Octopi, but another way is to just install all the software yourself. The latter is what I opted for, and while I still didn’t get the printer to work, I figure it’s still a good exercise to try and document what the rest of the setup looks like.
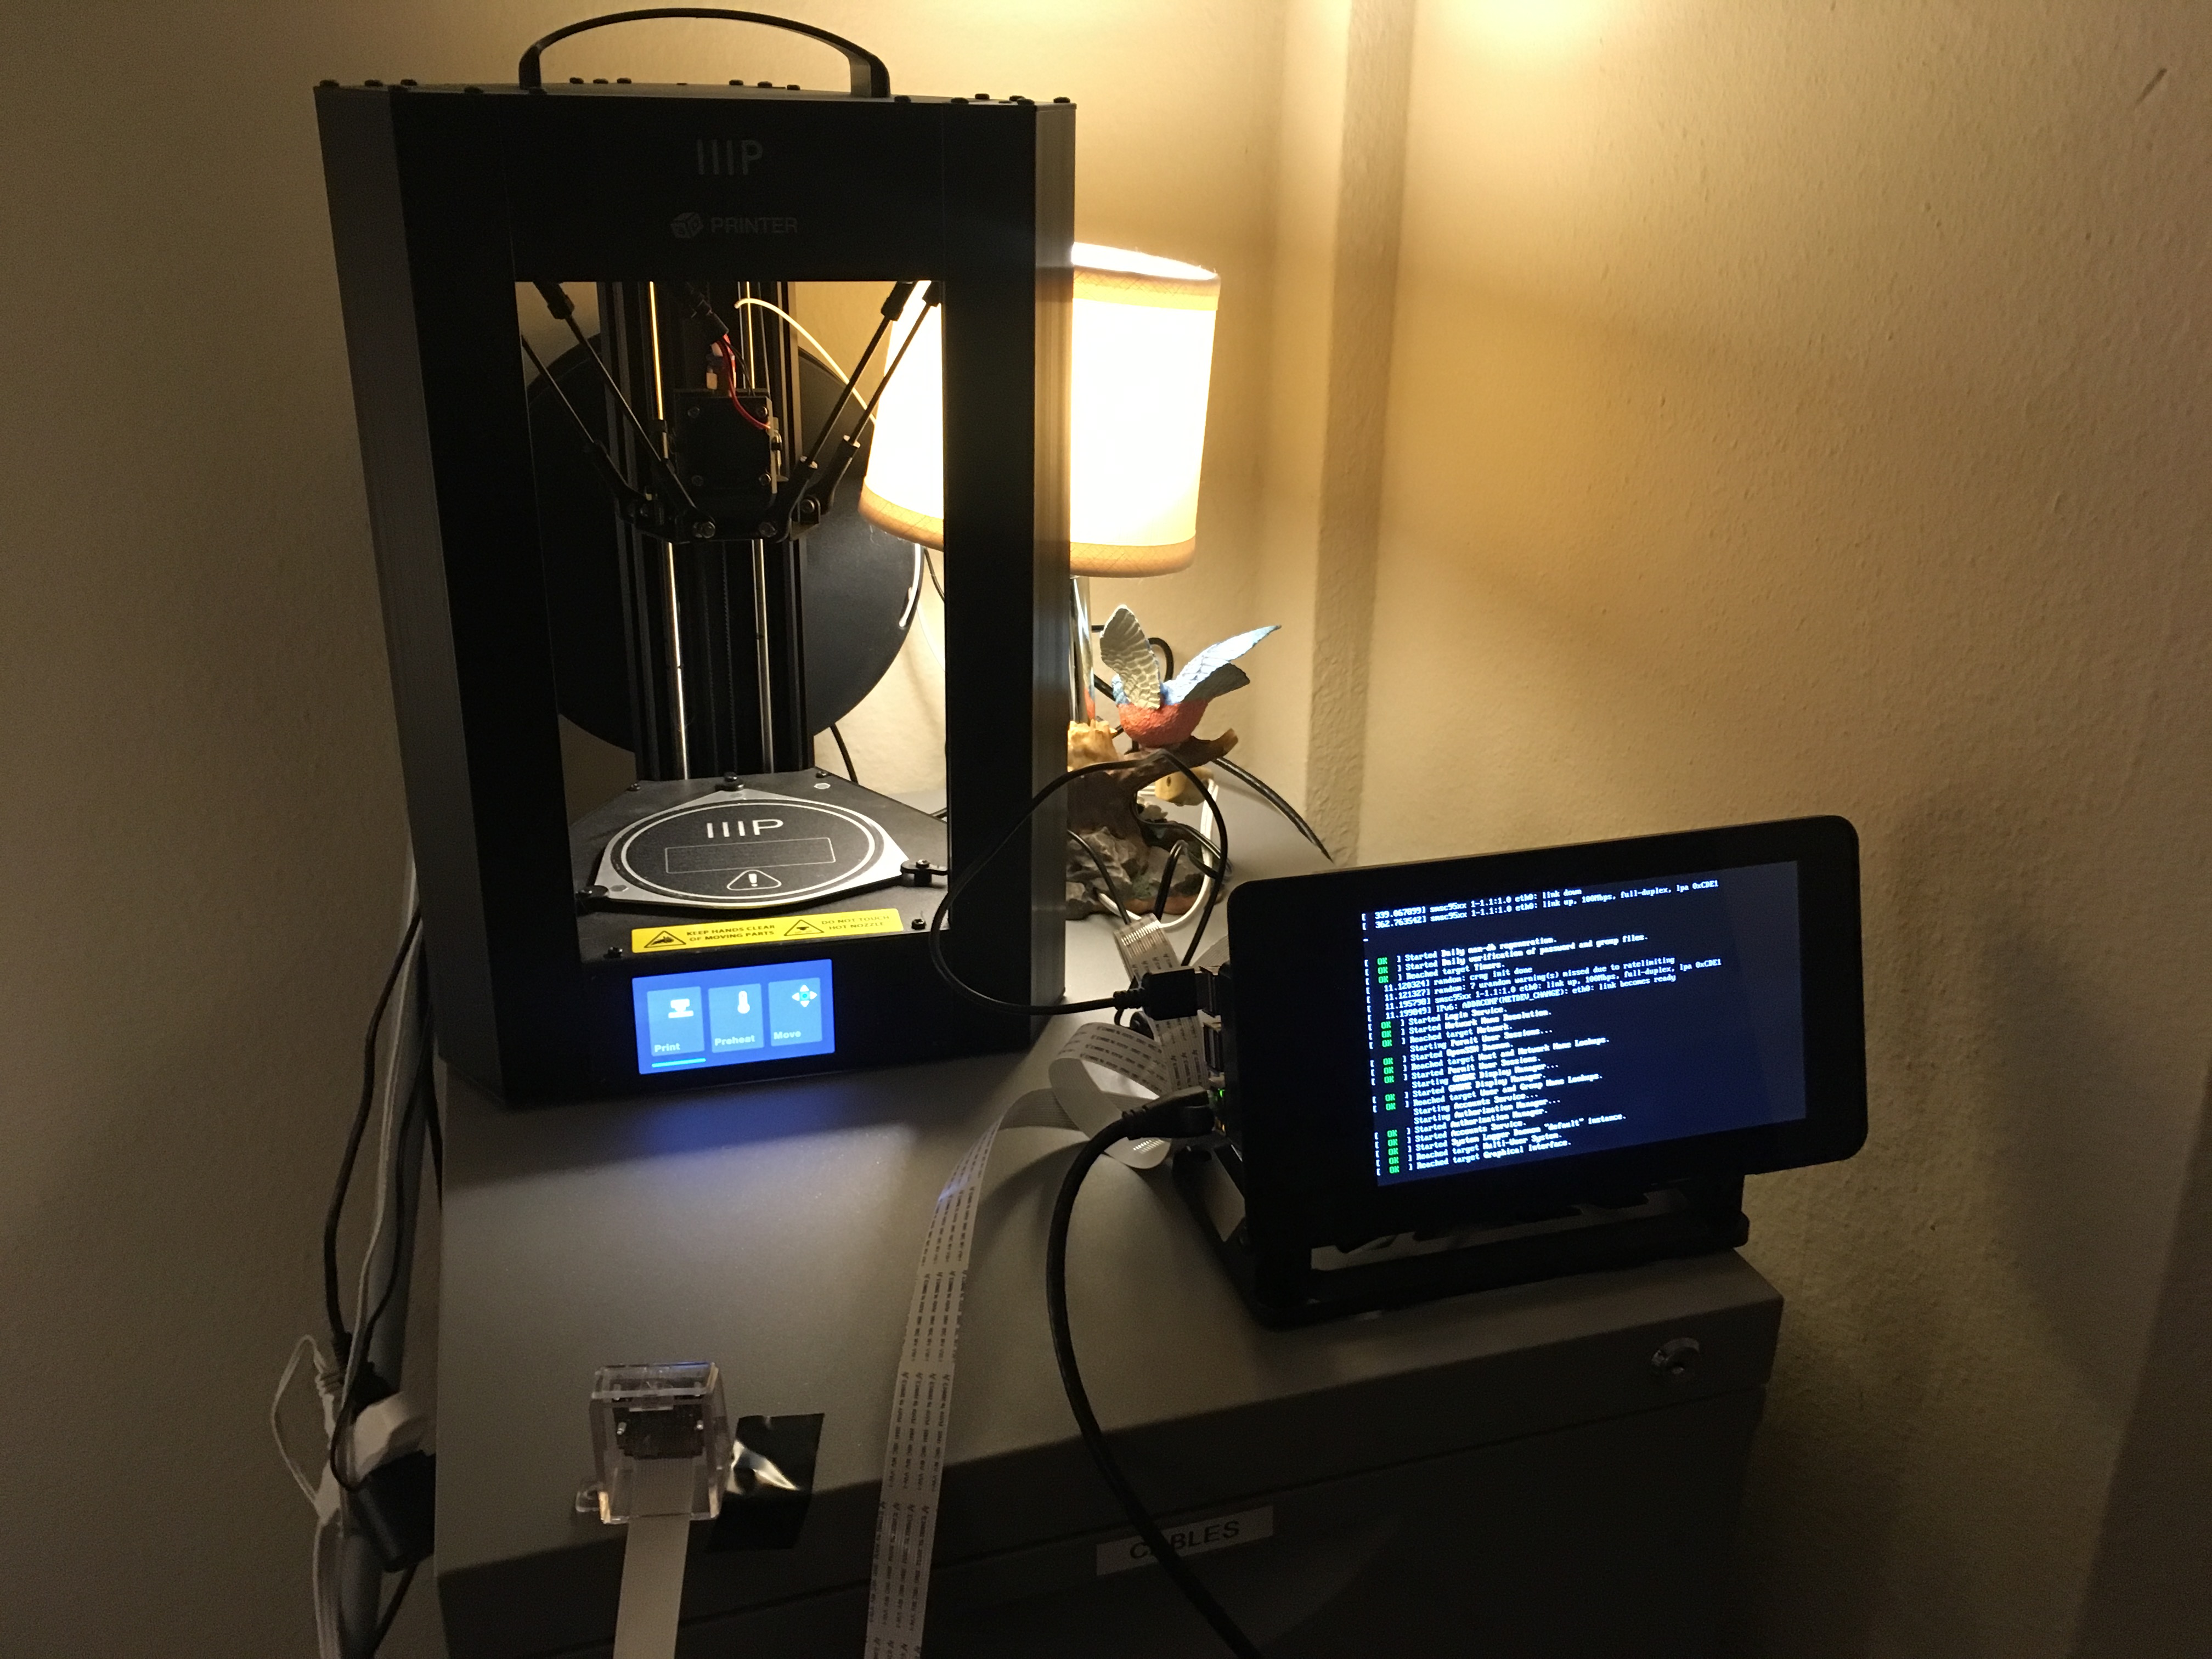
For the Raspberry Pi I used a Model 3B that I had lying around, put into a SmartPi Touch, with a 32GB SD card. You may know that I have a fondness for ArchLinux, so the base distro of my rpi is set up using these instructions. On top of that base image I also did the following:
- Set the pacman gpg settings to be a little less dumb by adding
keyserver hkp://na.pool.sks-keyservers.netandkeyserver-options timeout=1to/etc/pacman.d/gnupg/gpg.conf. pacman -Syu- Installing
syslog-ngand enabling it viapacman -S syslog-ngandsystemctl enable syslog-ng@default; systemctl start syslog-ng@default - Installing
wget,vim,htop, and other oddities - Increased the GPU memory allocation to 256M
- Installed
gnome,gnome-extraandxf86-video-fbdev systemctl enable gdm; systemctl start gdm- Changing the root password
For setting up Octoprint proper:
- Getting
python2-sargefrom AUR, thenmakepkg -si - Getting
octoprintfrom AUR, thenmakepkg -si - Getting
mjpg-streamerfrom AUR, thenmakepkg -si - Getting
motionfrom AUR, thenmakepkg -si pacman -S curaengine
Setup seemed deceptively easy, so I tried to look for any further configuration instructions, but could not find much other than documentation on the format of the config YAML. So I figured it wouldn’t hurt to just start up octoprint and see what happens.
systemctl enable octoprintsystemctl start octoprint
Then it was a matter of navigating to my “octopi” server on port 5000 (no TLS of course). There was a wizard for setup! Sadly I don’t have screenshots but the process walked me through setting up a user account for octoprint, analytics/privacy settings, plugin blacklist, and some rudimentary details of the 3D printer I have. Unfortunately this is where I stalled because it turns out my printer still has a problem where I cannot connect to it over its USB interface. The story ends here for now, until I either get another printer or I get the USB interface to work.
Some other notes: Graphics works okay out of the box. The touchscreen is natively supported, which is great, however GDM and the GNOME desktop were both pretty sluggish, even when I upped the GPU memory. I tried some other configs/tweaks including setting up an experimental VC4 driver, but as per the “experimental” part, I was greeted with a black screen upon reboot, so I am not eager to play with that more for now.
I haven’t gotten around to setting up mjpg-streamer or motion up yet to be recognized by Octoprint, so that will be the topic of another blog post.